Equipments:
1. Electric Drill
 and drill bits
To begin with, you will need a drill. I use a hand-held electric drill which I bought from a local hardware store. It’s light-weight and easy to use.


2. If you don't want your glass to crack


The drill bits should not be made of just any metal, but should be hard enough to cut through glass. Otherwise, you may just scratch the surface. Drilling on with force will just crack the glass.
I use diamond coated drill bits in several different sizes, all bought from ebay (just search 'diamond coated drill bits’ and you will have a variety of suppliers). I was told that aluminium carbide drill bits could cut glass as well. I tried, but learned the hard way that it did not.
I use diamond coated drill bits in several different sizes, all bought from ebay (just search 'diamond coated drill bits’ and you will have a variety of suppliers). I was told that aluminium carbide drill bits could cut glass as well. I tried, but learned the hard way that it did not.
2. Work surface

You will need something to support the glass. Like it or not, once the drill bit got through the glass, it would mark your work surface. If you don’t want dimples all over your workbench, place a wooden board underneath the glass. A board made of pine wood is soft enough for the drill bit to penetrate and perfect as a shock absorbent. A metallic surface is too hard and will always break the drill bit. A plastic surface is not good either: bits of plastic will melt and stick onto the hot drill bit.

Fix the piece of glass firmly before you start drilling. Use the drill bit obliquely to make a nick first so that the drill bit won't slip. Then drill vertical to the glass surface. It’ll be great to have a device to clamp it down, holding it firmly with the other hand is good enough for me.
4. Water
While drilling, always keep the drill bit and glass wet. This will keep the temperature down and also lubricate the drilling. If the drill bit become dry but you kept on drilling, it will get stuck to the glass and eventually break or the glass will crack. always keep a spray bottle handy.
TIPS:
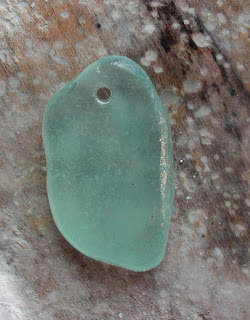
1. Clean cut edges on both sides of the hole
TIPS:
1. Clean cut edges on both sides of the hole

If you drill on through the glass from just one direction, the edge of the hole on the other surface will be rugged. Why? This is what happens: the glass over the drill bit become so thin that it cracks when the bit is about to emerge. 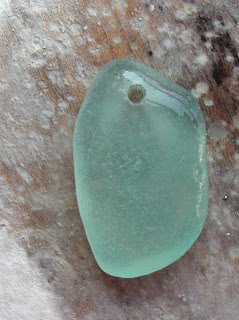


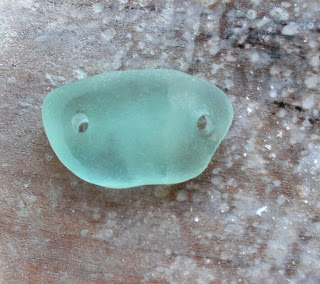
To make a hole with clean-cut edges on both surfaces, you will need to drill from both sides of the glass. I know there are expensive commercial drills that approach a gemstone or pearl simultaneously from both ends, it is slightly clumsier but not impossible with a hand-held drill.


I start drilling from one side, and stop from time to time to check the depth of the drill bit. When it’s about 1mm from the other surface, I flip the glass over, hold it to the light to see the tip of the hollow track. Make a mark, aim, drill and finish off. When the drill bit is about to emerge, you will hear a difference in the 'whirring' sound.
2. If you don't want your glass to crack


To avoid cracking your precious piece of sea glass, remember to well support its underside. DO NOT drill from its convex side and leave the hollow without supported: it’s bound to crack that way. Always drill from the concave side.
3. Clean the drill bit

During and after drilling, the drill bit will be covered with a white paste, which is wet, powdered glass. To keep your drill bit sharp, brush this off in water from time to time.
4. Enlarging the hole

What if you need a hole larger than any of your drill bits? Hold the glass firmly, press the drill bit firm against the 'wall' of the hole and move it around and and around, enlarging the hole to the right size.
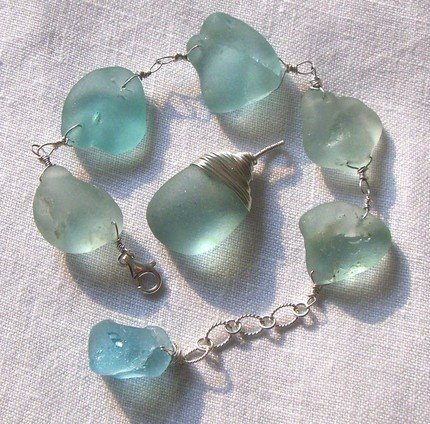
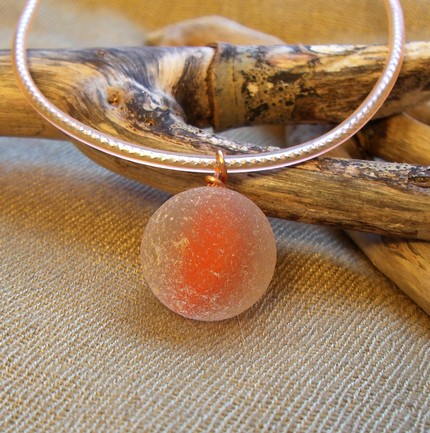
5. Clean and oil your piece with olive oil to bring out its true color. It's done!

So you’re all set to go! Thanks for reading through. I welcome all comments and questions!


